Cards created this year to send to our Nation's Heros....24
Showing posts with label mini album. Show all posts

Monday, May 12, 2014

DCWV Navy Swap

How fun!!  The Basically Bare folks worked with Die Cuts With a View.... and the stack they set us... The Hey Sailor Stack... Just after my daughter was giving me a hard time for not yet making her a mini for her Navy pics!! 
I picked the Krafty Keepsake from Basically Bare to showcase this great paper collection.
I just love how pretty and gold and reflective it is (Even if that did make the video a bit...bright!)
On the cover I added a huge anchor charm, centered some papers from the collection, a sticker and a great gold flower from Michaels


This mini comes with four #10 envelopes, I extended the flaps to allow for a pic and added.
This collection has large and small journaling cards and I added a belly band with an anchor and pockets to hold them.


Here is a close up of the knot my daughter can't tie (even though she was in the Navy!!)

Here is a belly band and the front of the chipboard piece.  I fussy cut one of the great ships from the collection and added a smaller tag.

The back cover - how great is that gold!!! I just added NAVY in big gold letters.


Wednesday, April 2, 2014

Travelling Mini

Everyone knows I love a good swap!  And this mini is travelling around for a 7 month tour of swapping!! 
For this Your Paper Pantry swap we create the covers and give some guidelines on how to fill the pages inside.  I asked for a Marie Antoinette/Paris/Chic look. I created the cover with some of my favorite stash goodies like the felt bird cage and flat back back pearls.  Of course, I added my favorite Rumple Ribbon in Butter Cream and I Love Grunge... and it is off travelling to 7 other swappers to have the pages filled out..


 Up close and personal with those beautiful pieces of Rumple Ribbon.  This was the very last tiny scraps I had of Buttercream.  I am off to order more - you can, too.

I used a ribbon holder, flat back black pearls and some shabby ribbons I just love and since they come back to me - I will see them again!!  I covered the chipboard with pretty mulberry paper (You might remember from some baby shower goodies) and shabby flowers.


Monday, December 16, 2013

Momma's Mesh and Rumple Ribbon on a Tea Party Mini

Another Momma's Mesh project!  I used the DCWV Garden Tea Party paper line to make a mini for the tea party I had from a few other posts.
I love how the mesh adds real texture but not bulk for those who aren't crafters.
Take a peek at the video for more details

Friday, September 13, 2013

Girly Rumple Ruffles

A couple of my girl friends had birthdays this week and we threw a HUGE party to celebrate!  We all came together over book club and I am so happy to know these ladies.  I wanted to make something special to really capture the last year we had together, all the dinners, drinks, books and laughs.
So, I decided an exploding box mini would be just the way to do that.
Of course, my new favorite ribbon was the star!!
On the lid here, I used Chevron Junkie behind my paper flowers.  The blue and yellow matched this My Mind's Eye paper collection perfectly.
Inside, I really liked that the rumple ribbon didn't add too much volume because that is so important in this kind of mini.  I tied a little piece of Simple White in a twine bow.  It added a nice texture and feminine look I think.
I am just loving being a part of this Creative Team - please take a minute and see some of what others are also working on!!  http://www.lovebugcreations.net/

Thursday, May 9, 2013

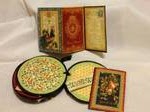
Graphic 45 French Country Circular Mini

I am back with another design team project for Lone Wolf Designs, LLC.  Most of the items used in this project can be found in her on line shop.  Head over to You Tube for the video, but here are some pics of the pages.  This was made to fit INSIDE!!!! the TH clock I showed a week or so ago.
Here is the front cover
The insert that fits under the band I made with a sticker from the collection.  The front cover is a piece from the cardboard sheet  I used the largest scalloped Nestie circle to layer the pages.
A few other pages:


You can purchase the Tim Holtz Ideology Clock, Graphic 45 French Country collection, and hundreds of other craft supplies at 25% off of MSRP at Lone Wolf Designs, LLC! Check it out at www.lonewolfdesignsllc.com. If you're buying your craft supplies anywhere else, you're paying too much!


Sunday, November 4, 2012

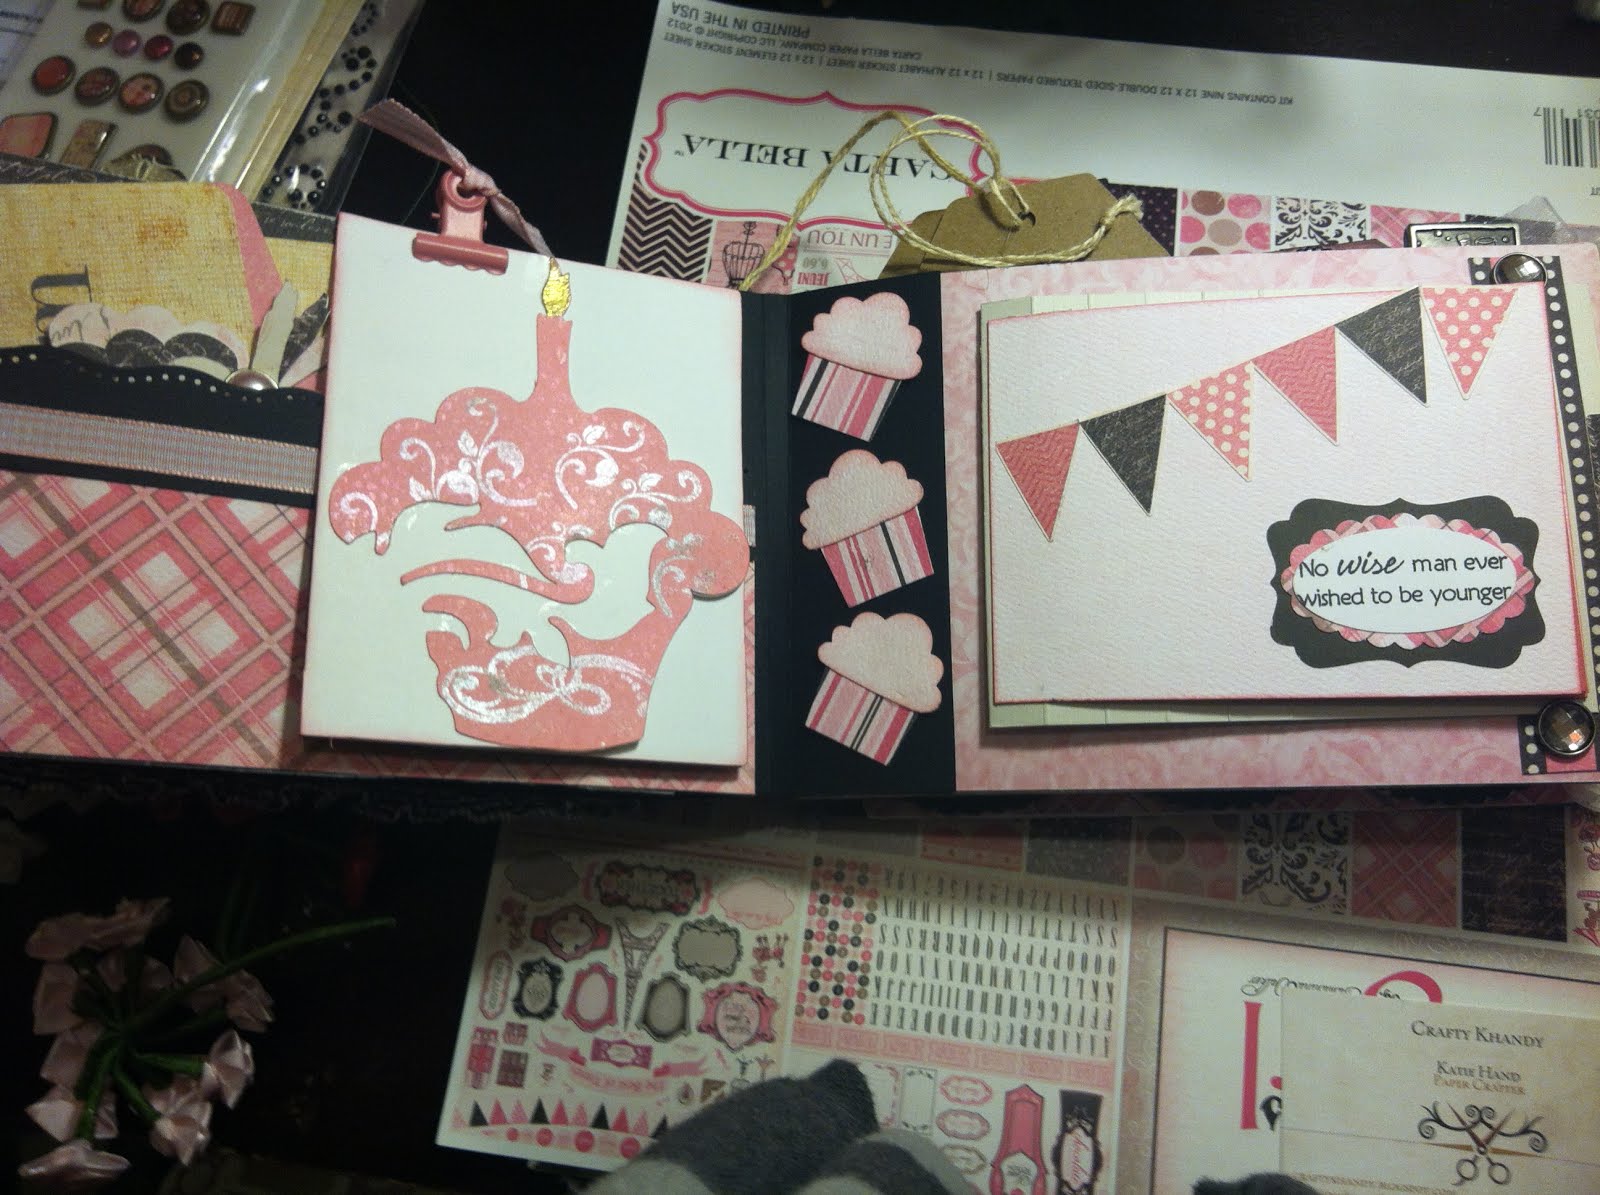
Carta Bella Paris Girl Mini Album

Yeah!!
It is finally finished...sort of. I am really pleased with how it turned out. I wasn't able to do a few things I wanted like add the TP mini pages from last year. But I did deconstruct a few of them and use my favorite bits. Lots of pockets and tags and places to keep mementos and photos from times with friends. I used the Damask Decor and Summertime in Paris Cricut Cartridges quite a bit. Please check out the video on YouTube here Photobucket

Thursday, November 1, 2012

Final Sneak Peek

Another little teaser for you. This is a paper bag page. I love the shoe layered border – that is from that cool pinterest link I shared. I haven’t made the tags for the inside yet, but it will be decked out! All right…blog candy. My goal is to finish this mini on Sunday. Make a video and post the candy! Candy rules will require pinterest interaction ;)
I repurposed some tags from another swap, made some new ones and found excuses to put pretty things I really like in here. Recognize any??
Photobucket

Saturday, October 27, 2012

Sneak Peek - 3

This I didn't make at all... This was made by a super talented friend of mine I have come to know through Operation Write Home. It had a row of those ribbons across the bottom, but I felt it worked a little better for this book with just one flower. The flower is mounted on an envelope corner so there is full use of the space for a photo. Somehow I forgot to snap a pic of the other side which has a great pull out page - will show in a video once the book is all assembled.

Thursday, October 25, 2012

Sneak Peek - 2

More of my mini with the carte bella Paris Girl paper line: This is based on Kathy Orta's matchbook insert
Folds into this (Kathy Orta's Tutorial)
And fits into this pocket made from upcycled packaging
Little detail on the corner

Wednesday, October 24, 2012

Sneak Peek - 1

I am taking a little break from my regular crafting and being selfish. I am working on a mini book with papers I love, to keep events with friends I adore in one place. And I am having FUN!!! Over the next couple days i will have some sneaks peeks as I start putting pages together. I am not sure what the final product will look like. I know some content - the Summer in Paris cartridge has been heavily leveraged.
This is a pretty gate fold style page, the tags aren't finished yet, but you can see the pockets are ready for 'em. That little photo stopper on the center is from the paper line.... Oh, that is Paris Girl by Carte Bella. Which, I heard, was made by echo park. I believe it too, the heft and quality of these pages are amazing. Stop back over the next few days for some more peeks.

Thursday, September 27, 2012

Vintage Upcycled Paper Bag

Upcycled Paper Bag for YPP I just love the Upcycled bag swaps. We take a regular everyday lunch bag and make it lovely. You can make it with the bottom still square to fill with a gift. I did some like this to give away garden herbs this summer. Or you can make it flatter for a gift like a card or certificate or with a really flat back to add to a mini album with some tags.
I made this one more as a mini insert in mind. I didn’t make the tags, because I just thought it would be better to make tags to coordinate with what the recipient’s theme was. To start, I pulled the bottom flap up and this created a pocket. At the top of the pocket (and not real visible here I added a trim punched with a simple edger on black cardstock. Next I layered that red on red piece from K&Co Engraved Garden paper pack. If you look closely – you will see perfume bottles, corsets, martini glasses, shoes, all girly treats. Before I adhered that piece down I took a buckle (that used to be silver but I colored with a gold dauber). Then I set it on an angle. We usually use a straight line, or I do at least. But I left this open in the front to hold a tag or photo. I made that stickpin to pull in all the colors I was working with and secured it in the ribbon (Nero by Stampin Up). On the top potion I started with a piece of black cardstock run through a script cuttlebug folder which I lightly ran a versa pad over and dusted on some gold perfect pearls. And a touch of vanilla smooch spray to set it. Next I found the image (always a requirement on the YPP paper bag swaps). It is a corset layered over sheet music. I was looking for a great vintage corset to stamp sheet music on… or maybe I would have printed it on a piece, but it came already put together…yeah. I edged that in two shades of reddy/pink from SU (Riding Hood Red and Cherry Cobbler) I like the effect of two coordinate colors giving a darker line to the edge. Then, I tipped the very edges with walnut stain from TH. I distressed the edges with water, I saw this on a youtube vide and just love the effect. After the reds and walnut are both applied just dip a brush in water and pull that dark brown in towards the image. It grabs the reds with it and really makes a nice blend. Also, it curls the edges a bit for a truly old look. I used some leaves from the bridal section at Michaels (I only go there in that aisle I swear!) The little mulberry roses are IAmRoses and the larger brown and cream are velvet ones from prima I found on CloseOutGirl’s etsy shop. I added a gold brad in the center to bring in the gold of the buckle. That left a hole on the left side which I filled pretty easily. A SU punch of red cardstock, a crown stamped with versa mark and touched with gold perfect pearls. I also ran a versa mark pen on the edges and gave it the gold pearls, too. I though this made it look more like a frame, though it doesn’t show well in the photo. A smooch spray to set and gold brads to make it look anchored to the image. I think these turned out nicely and I can’t wait to see what comes my way!!

Monday, March 5, 2012

Bucket List Mini made for me


I participated in a swap at Life on the Scrap Beach with Nicole a while ago – the mini and charm I made for her can be found  below.  Nicole doesn’t make a lot of videos so I made one to showcase what an amazing job she did.  She was able to take some really different ideas and pull them together in one great mini.  Each page lifts of opens to reveal extra large tags and lots of room to journal and add photos as I check the items off my list.
She even went on line and found really great clip art to use for some of my more ‘off the wall’ list items.
Nicole, a million thanks for all the time and energy you put into making this mini so fabulous!!  Check out the You tube video I made  here

Sunday, March 4, 2012

Graphic 45 Mini Album


I have been so busy making projects for other people that I am happy to finally make something for myself!  My mom and I took a four day cruise in October where we both were able to just completely decompress.  I made this mini to capture the photos from our trip.  I loved the Graphic 45 paper as soon as I saw it and knew that is what I would use for this mini.  The paper line comes with great tags kind of premade and ready to go.  The wallet took about 2 hours to assemble then a half day (ish) to add the paper and photos.
There are lots of free spaces to fill with photos from future cruises.  You tube video can be found here.